Rancher is a complete software stack for teams adopting containers. It addresses the operational and security challenges of managing multiple Kubernetes clusters, while providing DevOps teams with integrated tools for running containerized workloads.
When I started looking at Kubernetes, I wanted a solution for monitoring everything from one place, and if I moved from an on-premise cluster to Azure or AWS, I could use the same solution going forward. I didn’t want to have to learn different solutions if I moved.
I decided that Rancher would be the solution I went with, and it can be found here: – https://www.rancher.com
Whenever I install server applications, I try to keep them as close to ‘stock’ as possible, and I install them on some sort of independent infrastructure like their own VM or their own container. I never install server software on a system with other software unless I absolutely have to.
So, for Rancher, I decided to install it in its own VM running Linux.
Creating a new VM for Rancher
Rancher doesn’t require a lot of system resources, but the documentation states that it needs a minimum of 4 CPU cores and 8GB of RAM, so I set it up with that. Setting up a VM in Proxmox is nice and simple, and I have a blog post that details how that is done here: – Creating a new Ubuntu Server VM in Proxmox
Once the VM was created and started, I continued as detailed below: –
Installing Rancher
As Rancher is a server application, and I give all servers a static IP address, I followed the instructions here to apply a static IP: Static IP address on Ubuntu.
You can install Rancher on bare metal or in a container. I chose a container that will enable me to upgrade it easily in the future.
When the VM started, I connected to it using SSH and issued the following commands to update the system: –
sudo apt update -y
sudo apt upgrade -y
reboot
This gave me the latest versions of everything, and I was ready to start the process. The first thing I installed was the latest version of Docker with the commands: –
sudo curl https://releases.rancher.com/install-docker/20.10.sh | shThe version number in the command was the latest when I did this. Rather than have to keep issuing ‘sudo’ commands for Docker, I did the following: –
sudo usermod -aG docker stf ‘stf’ was the user I set up as the ‘root’ user on the Ubuntu VM. After issuing the above command, you must log out and back in before the change is in effect.
Having installed Docker, the next step was to install the Rancher container with the following commands: –
docker run -d --restart=unless-stopped \
  -p 80:80 -p 443:443 \
  -v /opt/rancher:/var/lib/rancher \
  --privileged \
  rancher/rancher:latest
This command installs the latest version of the Rancher container, assigns ports 80 and 443, and runs the container in privileged mode.
Line 3 maps a folder called /opt/rancher to the container. This folder must be created on the Ubuntu host VM. To create this folder, issue the following command: –
mkdir /opt/rancherAfter a minute or two, the container should be running, and it will be accessible on HTTP://IP address of the VM.
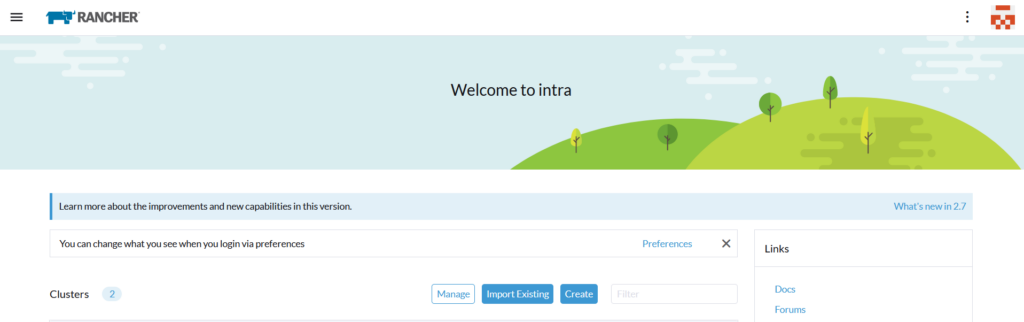
When Rancher starts it displays the following screen: –

Note that the name ‘intra’ isn’t the default – I created the screenshots for this post quite a while after setting up Rancher.
When you first access Rancher, the screen prompts you to set up and change the default user and password – just follow the instructions. I usually set things up with a user named ‘admin’ and my preferred password.
Once this is complete and you are logged into Rancher, you will see it has created a single-node Kubernetes cluster for you to experiment with. The default cluster is called ‘local’. This doesn’t have much in the way of resources as it is inside the Rancher container, but it is fully functional.
This is the normal screen that is displayed but you can change it and what is displayed if you wish: –
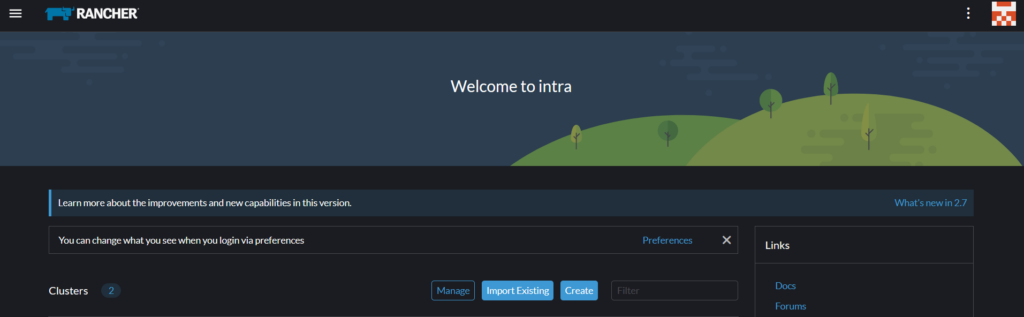
As this screen is so bright, I change this to be in Dark Mode by clicking the Preferences link and then my eyes stop bleeding and it looks like this: –
There are lots of options inside Rancher. You can import an existing cluster into Rancher, or you can create a new cluster on any of the supported providers like this: –
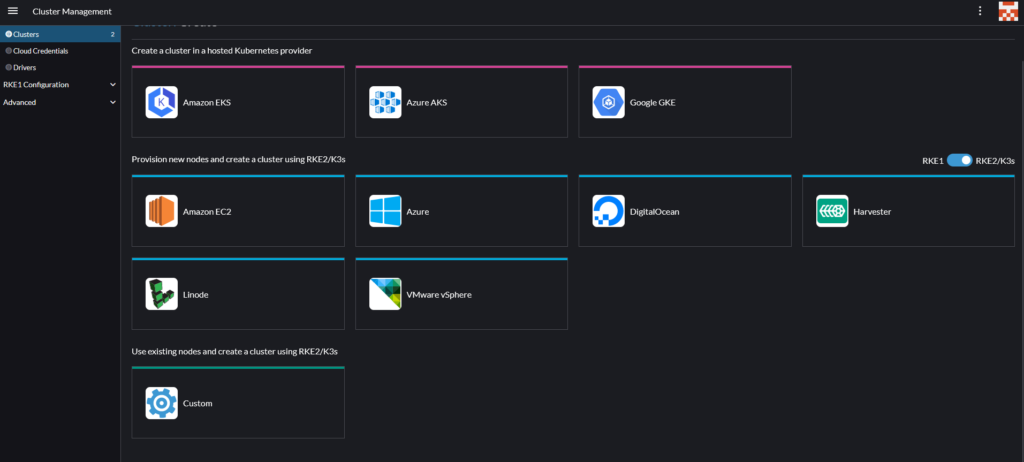
All of the common Cloud Providers are supported, as is the new SUSE Rancher Harvester provider. As I have my own on-premise servers, I chose the option at the bottom to create a Custom cluster using those.
There is another post where I detail what needs to be done to create a cluster.