
I didn’t really appreciate what a Raspberry Pi was until sometime last year – it had passed me by really. However, it is now my go-to device whenever I want a low-powered, programmable, always-on device.
The first few Pi’s I bought were 3B models with 4GB of RAM. I have also bought a few 4s lately and use them with POE hats. The 3Bs don’t support POE, so I just power them using a small USB power adapter.
Powering a Pi
The Raspberry Pi 4 B and Raspberry Pi 400 are powered via a USB Type-C port, which requires a charger that can output 5 volts and 3 amps. Most USB Type-C phone chargers don’t have enough amps to do this unless they have USB PD capability, but USB-C laptop chargers should all work. While it’s unlikely to be a problem, the Pi 4 models manufactured in 2019 or early 2020 have a bug preventing them from charging over high-speed data cables that support USB 3 x 5 or 10 Gbps connections.
All other Raspberry Pi models, including the Raspberry Pi 3 B and Pi Zero / Zero W / Zero 2 W, get power via a micro USB port, which means that you can give it power by connecting it to many different third-party chargers or even by attaching it to one of your computer’s USB ports. While you can get away with giving the board a lot less electricity (the Pi Zero W runs perfectly off of a laptop’s USB port), the optimal power source for a Raspberry Pi 3 should have 5 volts and 2.5 amps, which also provides plenty of power for any peripherals you attach to its USB ports.
What surprised me was that Pi’s don’t have a built-in power switch, so the only way to turn it on is to plug it in. You can find power supplies with built-in on/off switches, or you can build a USB extension cable with a switch in it. However, to avoid data loss, you’ll want to use the shutdown feature in your operating system (OS) before unplugging or switching it off.
How do you get something to run on it?
Out of the box, there is nothing on a Pi as it has no built-in permanent storage. To install an operating system, you copy it onto a microSD card and insert it into a slot on its bottom.
There are many different Raspberry Pi OSes, and there’s even a way to run Windows 11 on the Pi 4. However, Raspberry Pi OS, a special version of Debian Linux that’s optimized for the Pi, is the best platform for most use cases, so that’s the one I’ll be explaining how to set up below.
The minimum memory card size is 8GB, but it is best to use a larger one, preferably 32GB or higher, and it should be a class 10 speed card if possible.
If you just want to experiment with the Pi or use it to control physical objects like lights, motors and sensors, you don’t need to give it its own screen and keyboard. None of my use cases have needed a screen or keyboard, so I set up my Pi’s as headless units and connect to them using SSH. However, if I struggle to get them to boot, I connect them to a screen to see what is going on.
The Raspberry Pi Installer
To create an operating system microSD, you need to download the Raspberry Pi Imager program. You download it from here: –https://www.raspberrypi.com/software/
There are versions for Windows, Mac and Linux. I downloaded the Windows version as I use Windows 11 on my laptop.
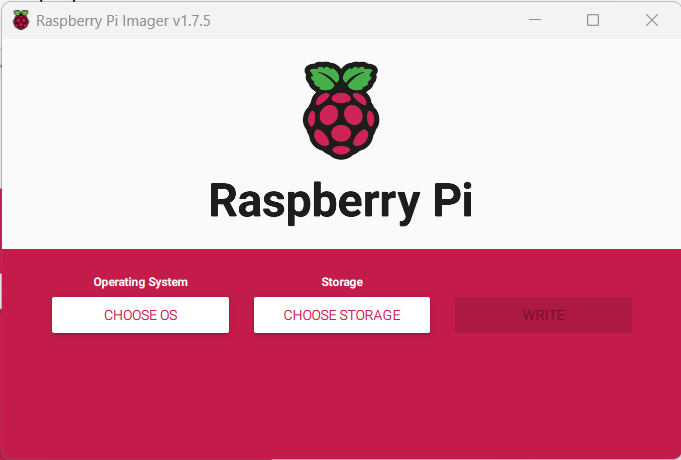
When you launch the Imager program, it displays a screen like this: –
You choose the OS and the microSD where you want to write it. When you do this, an extra cog appears in the bottom right as shown below: –
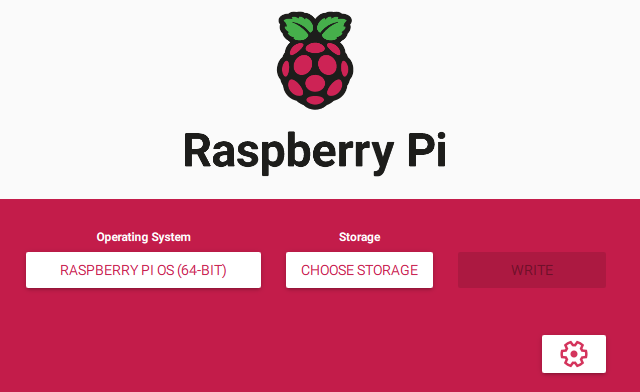
Clicking this opens a settings pane, providing options to enable SSH, set the machine name, set wireless networking and a few other options. I give each machine the following: –
- Unique machine name on my network
- Give the device an admin username and password
- Enable SSH and enable password authentication
- Set the Locale to the UK
I rarely set up the wifi side of things as I usually connect my Pi’s the network using an ethernet cable. My recent move to POE means I can provide a single cable to my Pi’s and give them networking and power, but that only works on Pi 4’s onwards.
Once I have finished making changes, I click the Write button and copy everything to the microSD card. This can take quite a while to complete, and I usually set it so that the image is verified at the end of the process, so it takes even longer. However, it does provide an extra check that the card is ok before I install it into the Pi’s.
One great feature of the Imager program is its ability to store the settings you use so that the next time you run it, it has the same settings defined. This makes setting up multiple identical Pi microSD cards much easier.
Booting the Pi
After you’re done writing the Raspberry Pi OS to a microSD card, it’s time for the moment of truth.
- Insert the microSD card into the Raspberry Pi.
- Connect it to the network using an Ethernet cable.
- Plug in a USB power lead.
As I use the Raspberry Pi Imager settings to create a username and password, I then connect to the Pi over the network.
What is the IP Address?
One thing that the Imager does not allow you to do is to set an IP address. I like to give my servers static IP addresses, so the first thing I must do is find the IP address that was assigned to it when it started up. To do this, I just log into my Unifi Controller application on my Dream Machine and look to see what was assigned.
Assign a Static IP Address
Once I know the DHCP assigned address, I log in using SSH like this: –
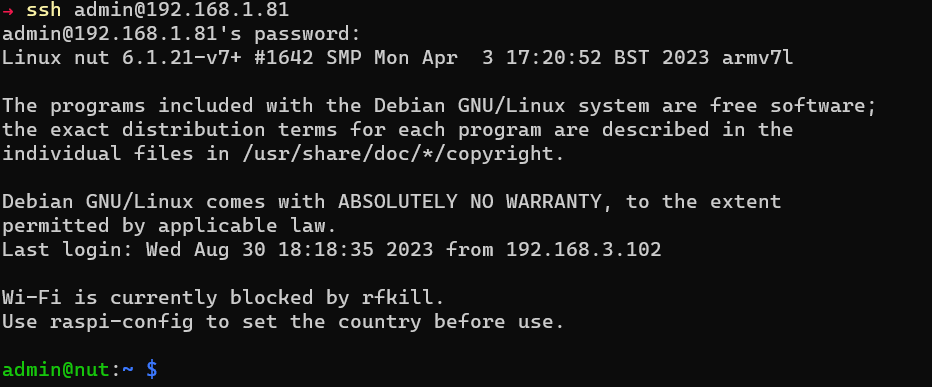
Here, I logged into my NUT server – there is a great post here about setting up the NUT server and clients.
To set a static IP address, you need a few things: –
- The IP Address you want to use
- The IP Address of your Router or Gateway appliance
- The IP Address of your DNS server/provider
For my NUT server, I wanted to use IP 192.168.1.81
My Router IP is 192.168.1.1, and my DNS is 192.168.1.2 and 192.168.1.13
So to set a static IP address, you edit a file called /etc/dhcpcd.conf
I use ‘nano’ to edit this file by running the command: –
nano /etc/dhcpcd.confThis edits quite a large file that looks like this: –
# A sample configuration for dhcpcd.
# See dhcpcd.conf(5) for details.

# Allow users of this group to interact with dhcpcd via the control socket.
#controlgroup wheel

# Inform the DHCP server of our hostname for DDNS.
hostname

# Use the hardware address of the interface for the Client ID.
clientid
# or
# Use the same DUID + IAID as set in DHCPv6 for DHCPv4 ClientID as per RFC4361.
# Some non-RFC compliant DHCP servers do not reply with this set.
# In this case, comment out duid and enable clientid above.
#duid

# Persist interface configuration when dhcpcd exits.
persistent

# Rapid commit support.
# Safe to enable by default because it requires the equivalent option set
# on the server to actually work.
option rapid_commit

# A list of options to request from the DHCP server.

# Example static IP configuration:
interface eth0
static ip_address=192.168.1.81/24
static domain_name_servers=192.168.1.13 192.168.1.2
I set the static IP address details in the section at the bottom under the comment ‘# Example static IP configuration’.
Once these are changed, the file is saved to disk, and the Pi is rebooted with the command: –
rebootWhen it reboots, it has a static IP address, so you must use this address to access it via SSH.


