
One of the main reasons I moved over to Proxmox was the ease with which it was possible to add servers into a cluster. With the Hyper-V server, there were so many specific requirements and configuration steps that I simply didn’t try.
I set up three different Proxmox servers and configured them as I describe in another of my blog posts here: – Setting up Proxmox. Each server had access to the same NFS shares for things like ISOs, Backups, etc.
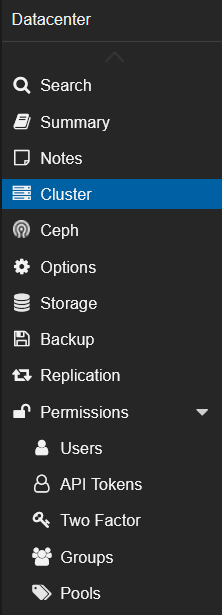
The first thing to do is to connect to one of the Proxmox servers as ‘root’ and then select the ‘Data Centre’ node on the left. This shows the section below, from which I selected ‘Cluster’: –
This then opens a pane on the right with a button to Create a new Cluster. You give the Cluster a name and then create the Cluster. One essential thing to remember is that once you define a cluster name, you cannot change it without resorting to some difficult keyboard work. Eventually, you are given join information to add other nodes to the Cluster. The join information looks like this: –
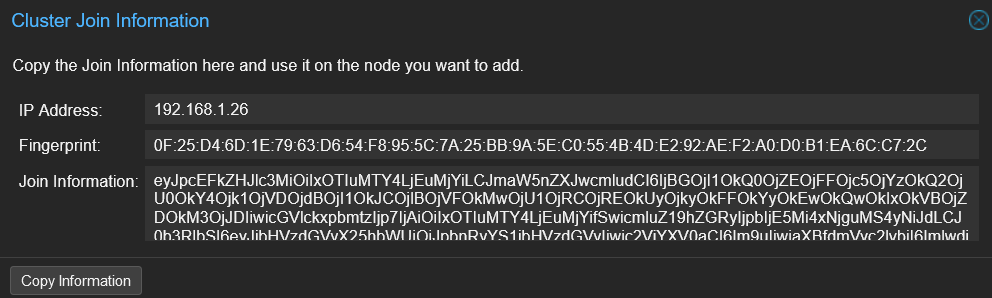
Clicking the ‘Copy Information’ button copies the join information to the clipboard, and then the join process can be repeated on each node.
The join information has a lifetime within it. Initially, I copied the Join Information into OneNote to enable me to add other nodes in future. However, this wasn’t needed and was the wrong thing to do anyway. The next time I tried to add another node, the join information didn’t work.


